Communication in workorders is configured in the workflow area.
Workflow Templates
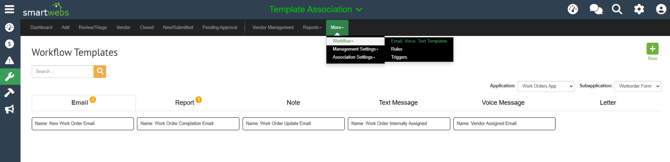
Templates can be accessed by navigating to Work Orders > More > Workflow > Email, Voice and Text Templates. This is where you'll manage all templates for the work order module.
Rules & Triggers
Rules and triggers work hand in hand with each other. The Start Rule determines when the system should begin watching the work order changes and the end rule is what defines that condition that will trigger notification. The trigger area is where you'll combine the start and end rules. After you create your email template, you'll follow the steps below to create your rules and trigger.
Step 1: Create a Start Rule
- Go to the Work Orders App.
- Click More > Workflow > Rules.
- Under the Start Rules tab, click New.
- Name your rule something clear (e.g., Start – Vendor Notification Trigger).
- Add a Group and set the condition:
- Field: Work Order Created Date
- Operator: <> (Not Equal To)
- Value: Leave blank
- Save the rule.
- Navigate to the End Rules tab.
- Click New.
- Name your rule (e.g., End – Vendor Assigned Status Trigger).
- Click Add IF, then set:
- Field: Work Order Status
- Operator: Like
- Value: [The (exact) name of the target status, e.g., Vendor Assigned]
- In the THEN section:
- Click Add Action
- Choose Change Communication Template
- Select the appropriate Vendor Notification Email Template
- Save the rule.
Step 3: Package the Rules in a Trigger
- Go to More > Workflow > Triggers.
- Click New.
- Give your trigger a descriptive name (e.g., Vendor Email – Trigger on Vendor Assigned Status).
- Add a brief Description (optional but helpful).
- Under Begin Rule, select the rule you created in Step 1 (Start Rule).
- Under End Rule, select the rule you created in Step 2 (End Rule).
- Save the trigger.