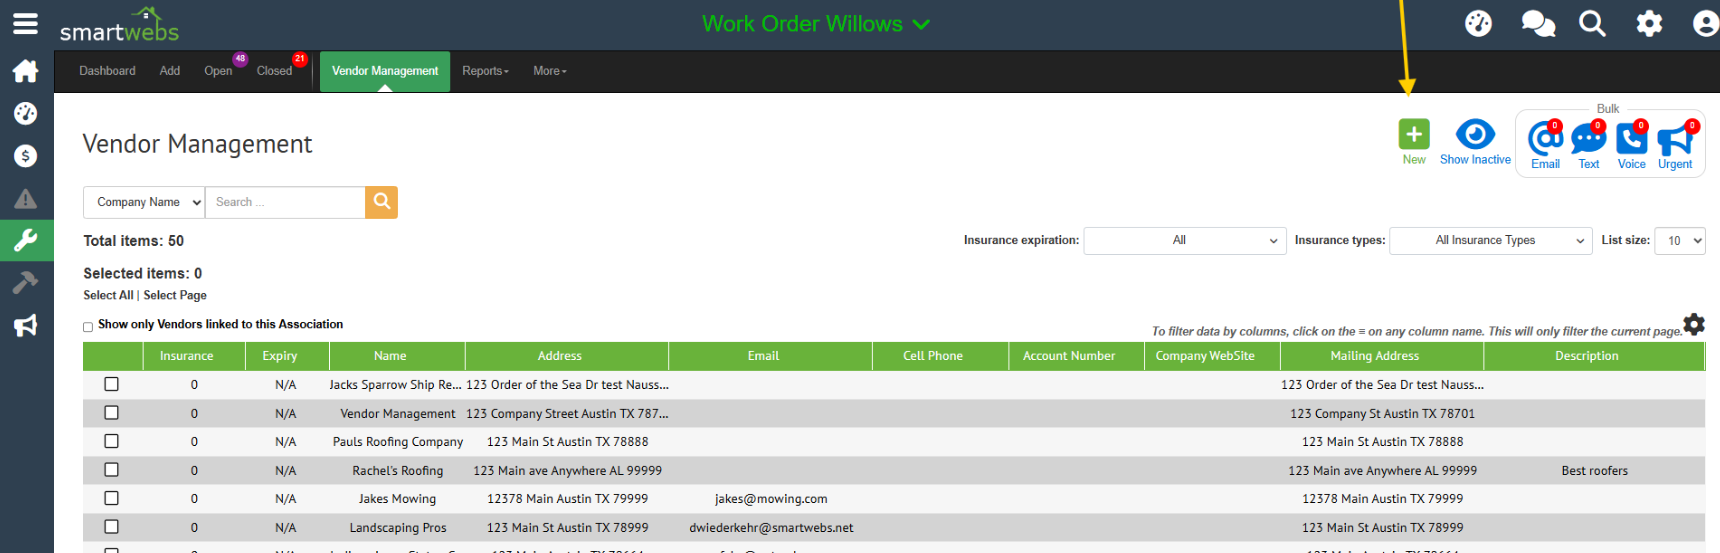
- Navigate to Vendor Management
-
- Hover your mouse over the Work Orders Module icon on the left side of the screen.
- Select "Vendor Management" from the menu that appears.
- Start a New Vendor Profile
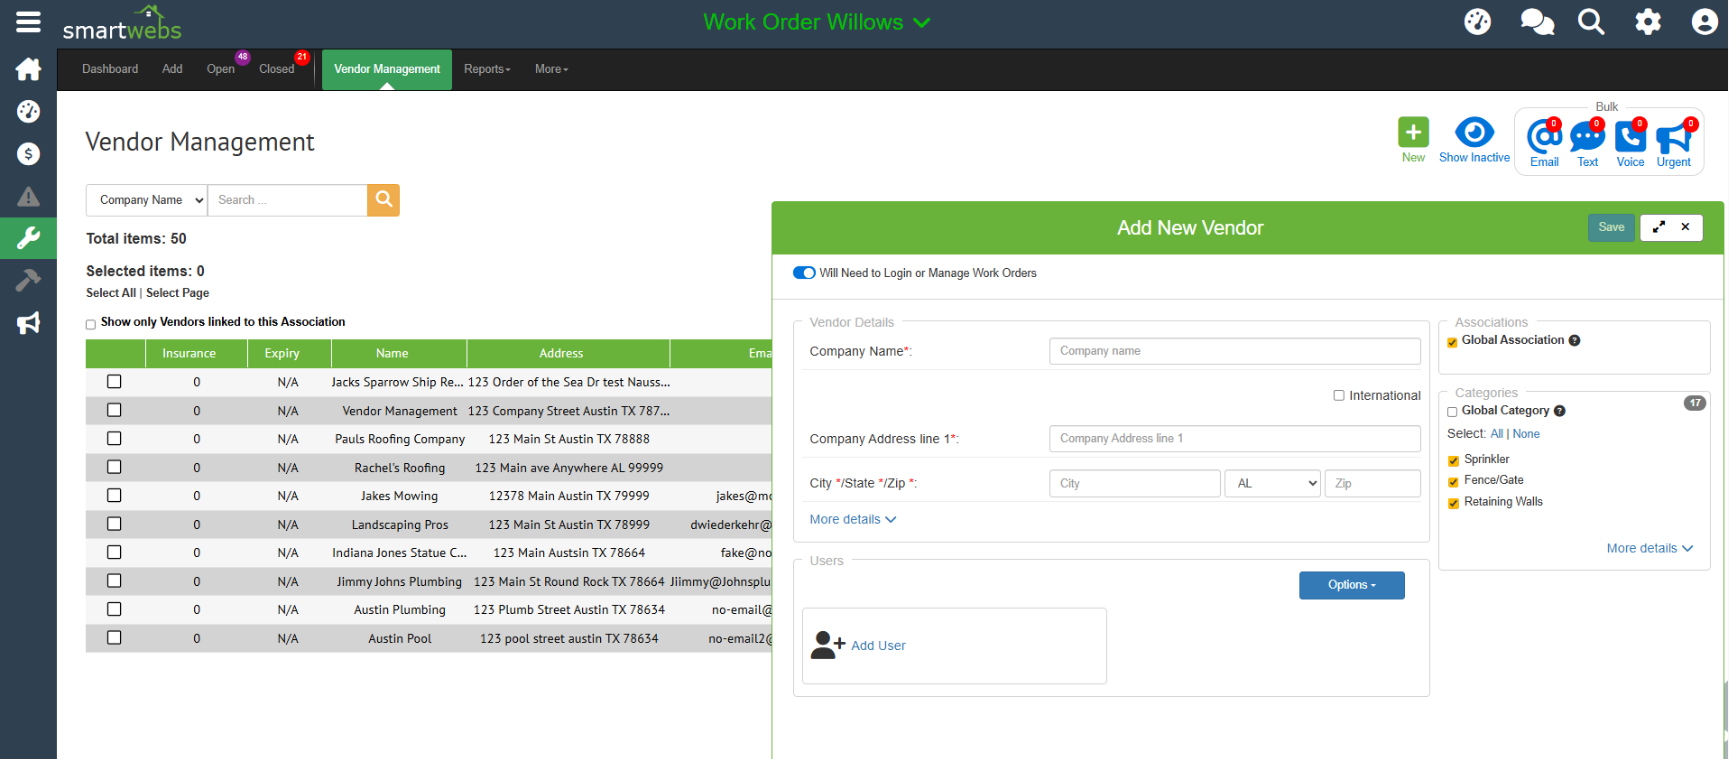
- On the Vendor Management page, click the green "New" icon located in the top right corner.
- Fill in Vendor Details
Complete the required information fields:- Enter the vendor's basic information.
- Select the relevant Category of Work Order the vendor should be available for.
- Assign the vendor to an association (this is crucial for visibility).
- Add a Vendor User (If needed)
If this vendor will receive or manage work orders in the future, you must add a user:- In the top right of the vendor form, toggle the "Will Need to Login or Manage Work Orders" switch to ON (it should turn blue).
- A new User section will appear. Click "Add User" within this section.
- Fill in the required user information and assign the user to an association.
Tip: You can use the company name for the First and Last Name fields if needed.
- Save and Create the Vendor
- Once all required fields are complete and the vendor is assigned to an association, click "Save" in the top right corner.
- This will take you back to the main vendor information screen. Click "Save" again to finalize and create the new vendor.