Overview
The use of refunds allows the user to issue a check to a homeowner for an overpayment or credit balance on their account.
Please note, this is currently not an option for past owners.
The refund process does not create a vendor record for the homeowner, which helps to keep vendor lists lower.
Note: This is not the same as a reimbursement (paying back a Homeowner/Board Member for an association expense).
When processed in Smartwebs Accounting, refunds do not create vendors in the system but are treated in every other way as a regular payable (i.e. on reports, recognized as liabilities, etc.)
Example: A homeowner overpays their annual assessments and rather than carrying a credit balance for a year, opts to receive a refund.
To add a “Refund,” the payee must be a current owner in the system and the payable must be processed in Smartwebs Accounting (not an integrating partner. (i.e. Avid/Strongroom)).
** If the user is using the Avid/Strongroom integration, and wants to process the invoice through Avid/Strongroom, a separate vendor must be created.
Creating a Refund
- Navigate to Accounting > Receivables > Homeowners
- Locate the homeowner with a credit balance.

- From the "Options" dropdown menus, select "Issue Refund"

- Type - From the dropdown, Select the payment type: Check or Cash
- Pay From - From the dropdown, Select the bank account (if different from the default)
- Ref #: - Optional
- Cost Center - From the dropdown, Select the Cost Center (if different from the default)
- Memo - Optional
- Payment Date - This will default with today's date, make changes if needed
- Refund Amount - Here you can enter the full Credit/AR balance or a portion of that Credit/AR balance
- Once all required fields are completed, you will select the blue "Create" button.

You have now created an Invoice with a Pending status. You can see this here : Accounting > Payables > Invoices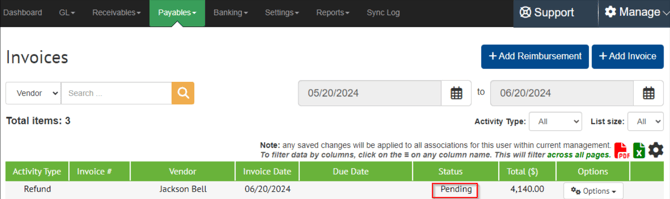
Printing the Check
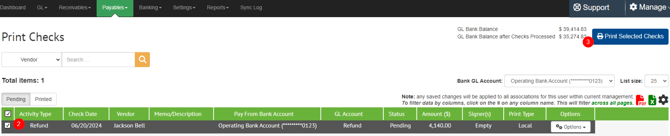
- Navigate to: Accounting > Payables > Checks
- Check the box in row for the check you want to print, or select all from the header
- Select the blue "Print Selected Checks" button
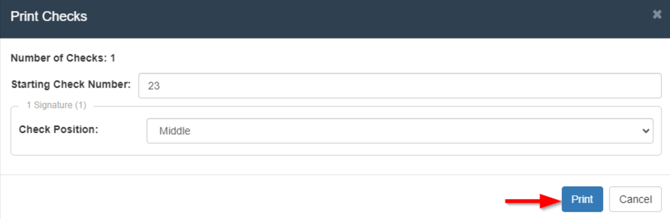
- In the Pop-up, confirm the starting check number and check position, then select the blue "Print" button
- There will be a Pop-Up giving you options to:
- View in a new tab - This opens a new window with the check image
- Download - Allows you to name, then save a copy of the PDF
- Email - Sends the PDF via email
- Post - Allows you to save the PDF to a document folder within the association documents
- For this example we will use the "View in a new tab" option. Select the blue "Open" button
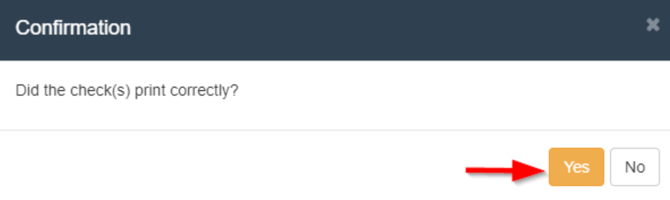
- A confirmation Pop-Up will ask if the checks printed correctly; Select the orange " Yes" button to confirm
- The check will now show in the "Printed" tab instead of the "Pending" tab and will have a status of "Paid"

- The Payment Journal Entry is now created. To view the Journal Entry: Navigate to Accounting > GL > Journal Entries. Here you will see the entry to debit the default Accounts Payable GL and credit the bank account GL

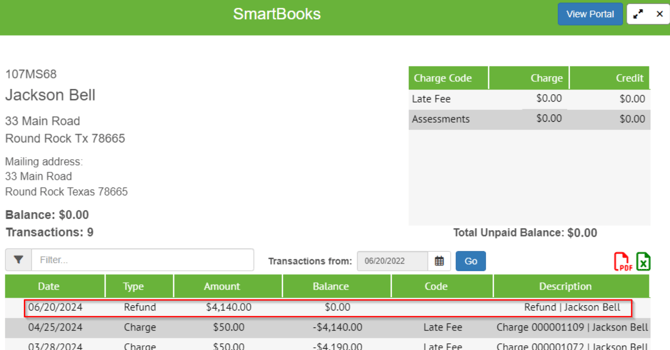
- The homeowner ledger will now reflect the refund
Refunds for Past Owners
Past owners cannot use the Refunds process, so you will need to add a charge to the account for the amount of the refund then create a traditional vendor payment. You will use the revenue GL that is associated to the charge code you used as the expense GL for the payment.