This outlines how staff, vendors, and residents can manage work orders using the Smartwebs Portals App on a mobile device.
Here is the process for creating a work order within the app:
Step 1: Log In: Use your Smartwebs username and password to log into the Portal App.
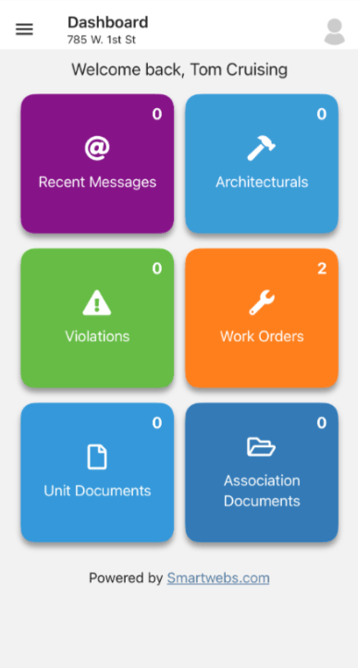
Step 2: Access Work Orders: Tap the orange work order tile.
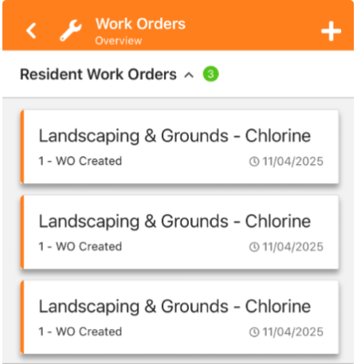
Step 3: Start New Work Order: Tap the + button in the top right corner.
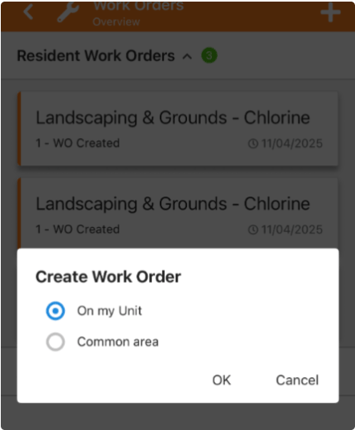
Step 4: Select Location: Choose either On My Unit or Common Area. If Common Area is chosen, select the specific amenity, then click OK.
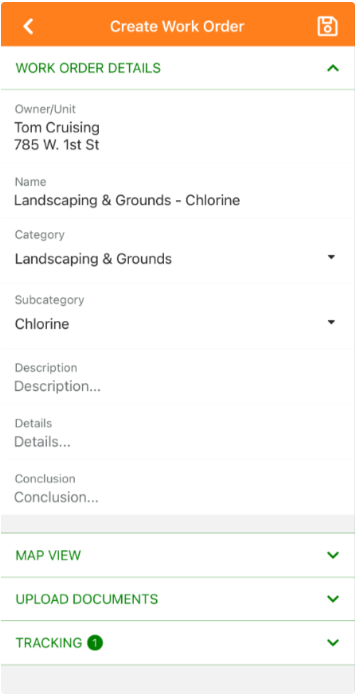
Step 5: Enter Details (Work Order Details): Fill in the optional fields: Description, Details, and Conclusion.
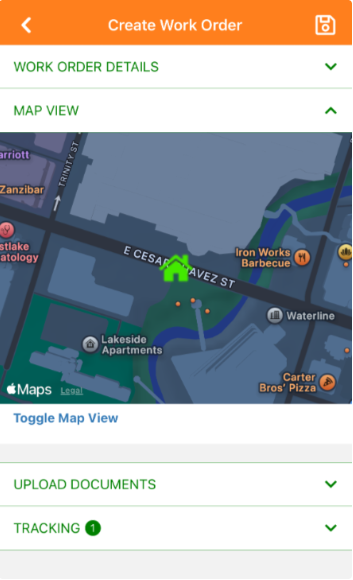
Step 6: Review Location (Map View): View the map of the location for the work order.
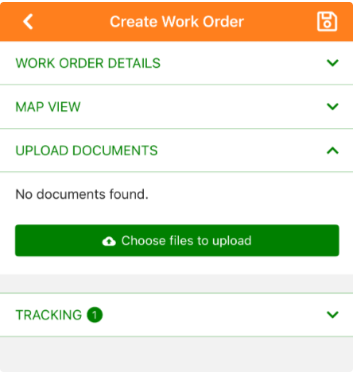
Step 7: Attach Documents (Upload Documents): Upload any relevant pictures or documents.
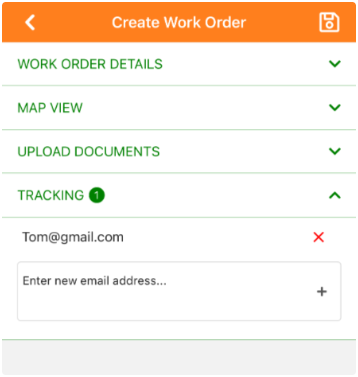
Step 8: Add Trackers (Tracking): Add any additional email addresses that need to track the work order.
Step 9: Save: Click the file disk icon (save icon) in the top right to save the work order.
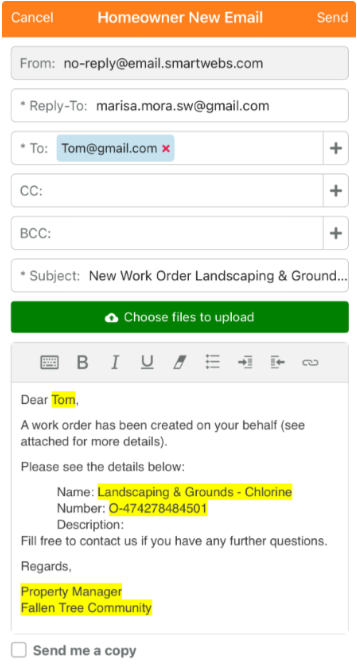
Step 10: Send Notification: Review the email template that pops up and click Send to dispatch the work order notification email.