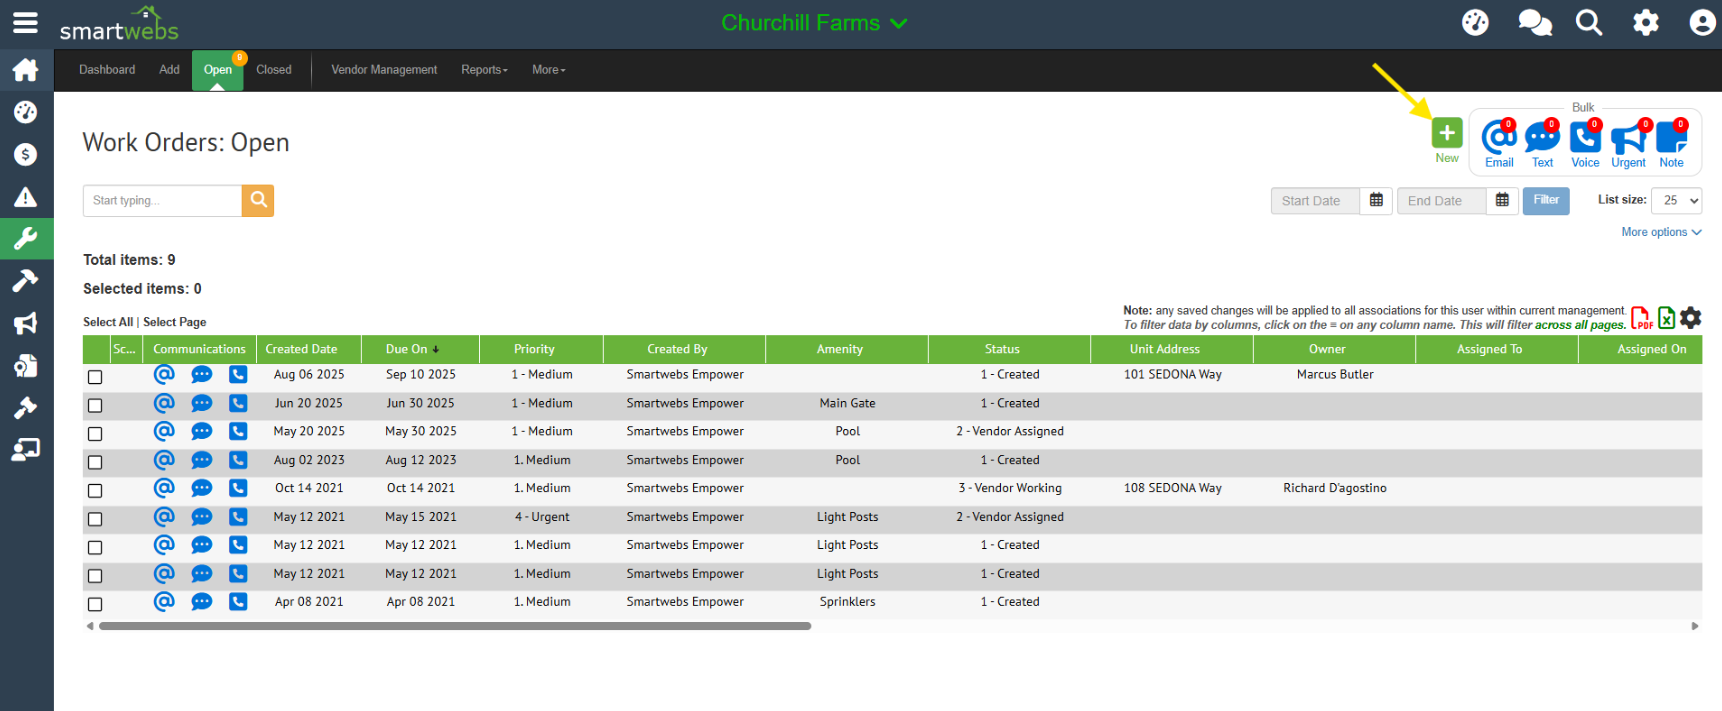
Step 1: Start a New Work Order
Navigate to WorkOrders and click the green New button.
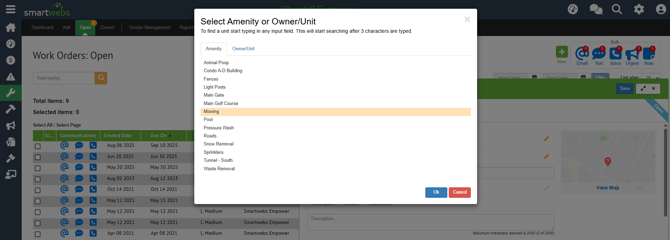
Step 2: Select Location Type
Choose whether the work order is for an Amenity (like a clubhouse or pool) or an Owner/Unit. After making your selection, click Ok.
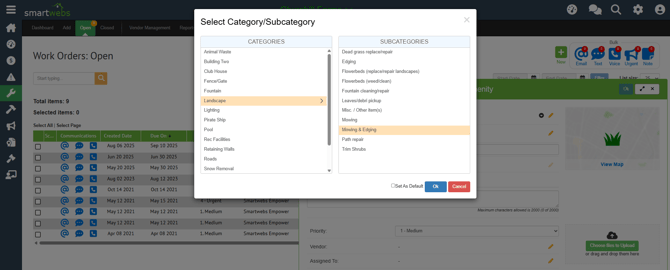
Step 3: Define Category and Subcategory
Select the appropriate Category and Subcategory for the work order, then click Ok.
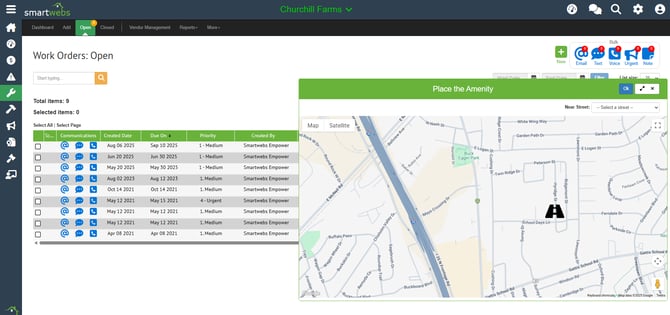
Step 4: Map Location of Work Order
If the work order amenity is floating as defined in work order setup, then you'll need to map the work order location on the map. If the amenity is set as physical, then this popup will be skipped.
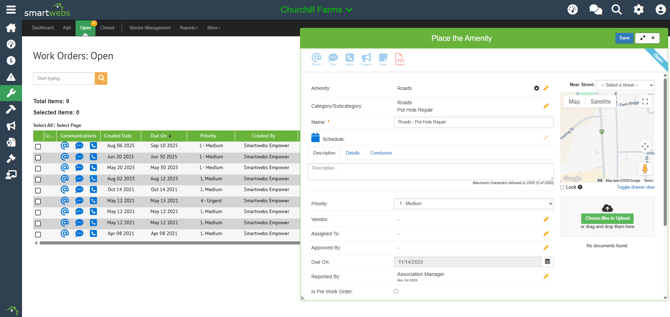
Step 5: Enter Work Order Details
Fill out the required and recommended information for the work order:
- Review/Edit Core Details: The Amenity, Category, and Subcategory are pre-filled. You can change these by clicking the yellow pencil icon.
- Name: The name defaults to the Amenity - Subcategory convention, but you can edit it.
- Mapping: The map displays the location. You must map any floating amenities (light posts, fences) before saving. NOTE: Your device location must be on to map a work order.
- Description/Details/Conclusion: These fields are optional, but it's highly recommended to use at least one to explain the required work.
- Priority: This field has a default value, but you can select a different priority from the dropdown.
Step 6: Assign Users and Set Dates
- Vendor: Click the yellow pencil icon to assign a vendor.
- The default view shows vendors assigned to the work order's category and the current association. Use checkboxes to expand the list if needed.
- Priority: The vendor company must have a vendor user created for assignment.
- Select the vendor and click Ok. The vendor's information and the assignment date will populate.
- Assigned to/Approved by: Click the yellow pencil icon for each.
- These fields pull current users assigned to the association. Search by typing at least the first 3 characters. Select the user and click Ok.
- Due Date: Defaults based on association settings (editable in management settings). Click the calendar icon to choose a new date.
- Reported by: Defaults based on association settings. Click the yellow pencil to choose a different user.
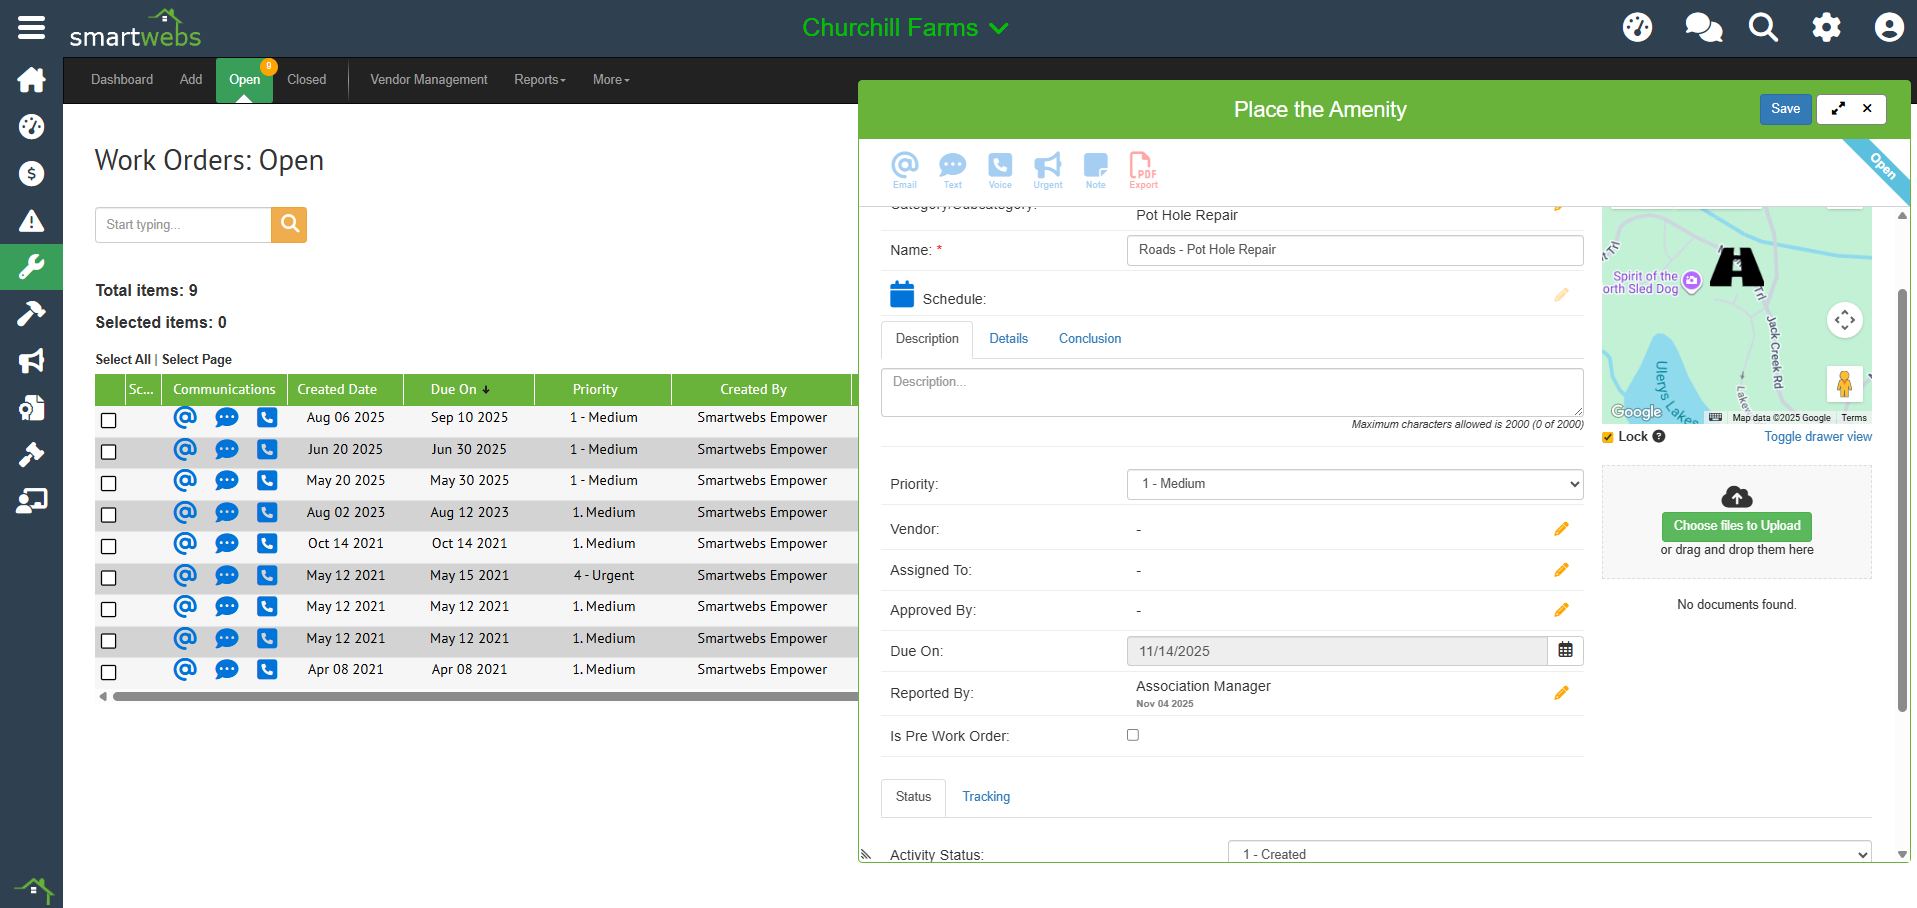
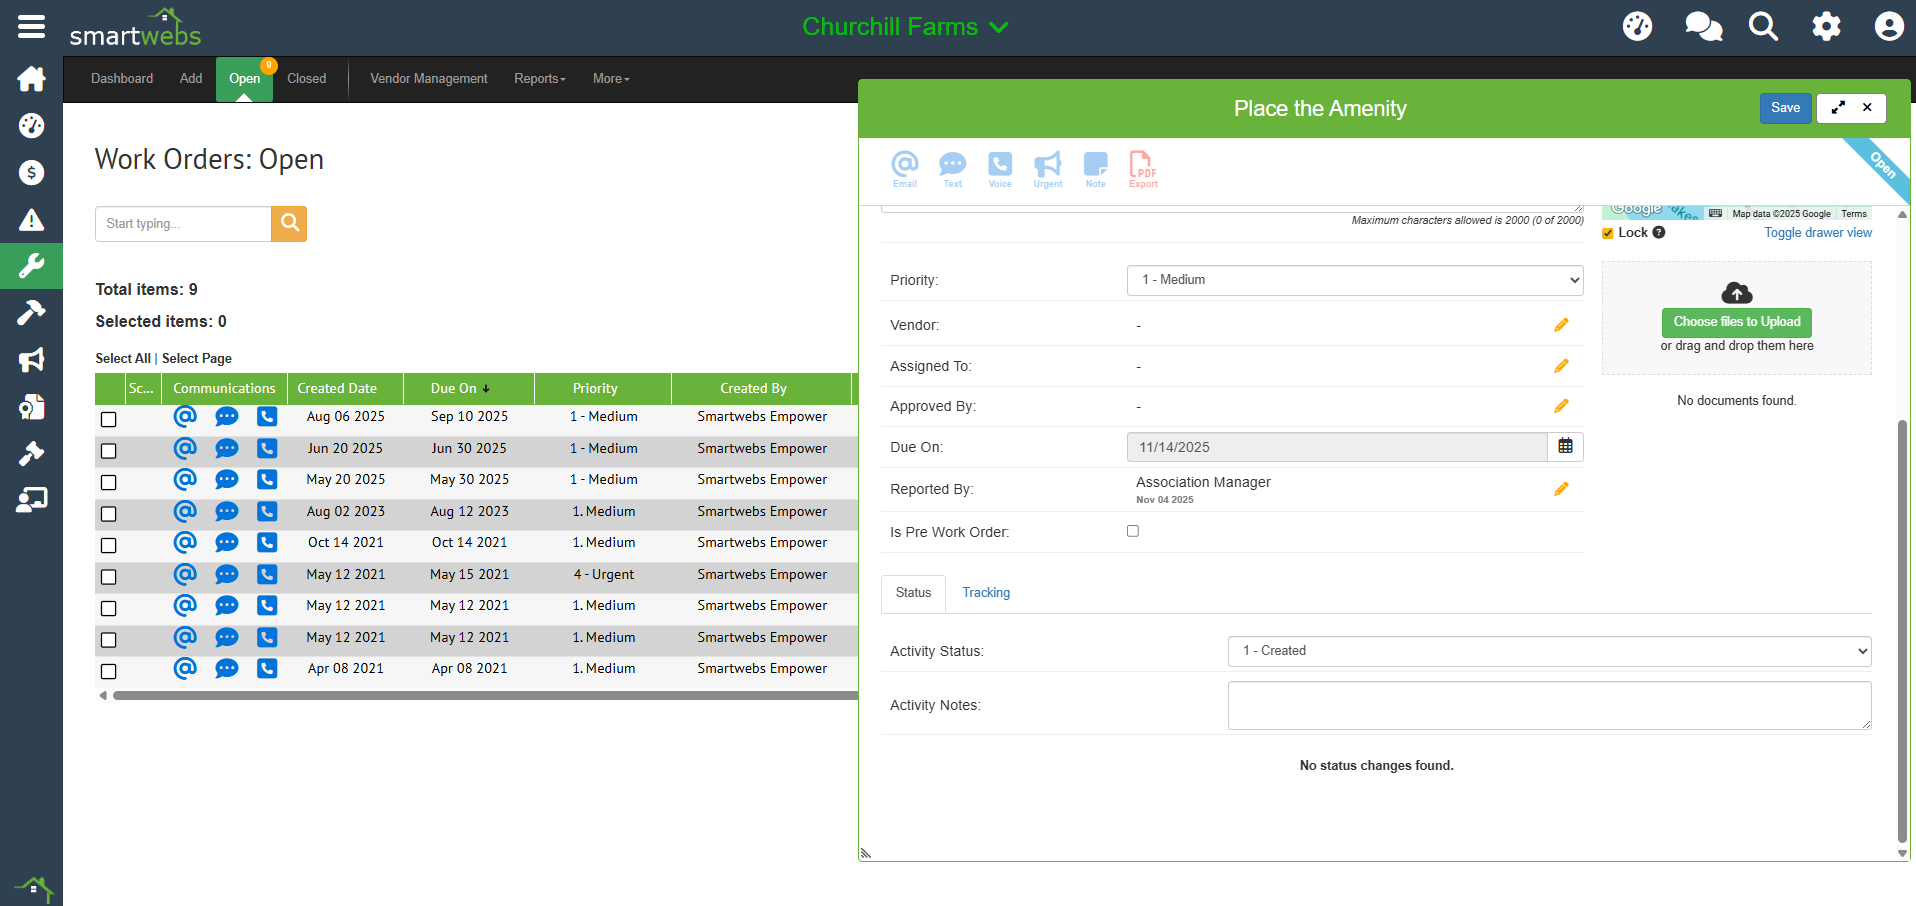
Step 7: Finalize and Save
- Pre Work Order: Check this option if the work order isn't ready for work to begin yet.
- Documents: Upload pictures, emails, or PDFs associated with the work order here.
- Status: Update the work order's status and leave any activity notes. Status updates are tracked below the notes field.
Click Save.
Step 8: Send Communication
An email template based on your configured workflow will appear. Review the emails and click Send. If you prefer not to send the communication, click the x to close the drawer, and no email will be sent.
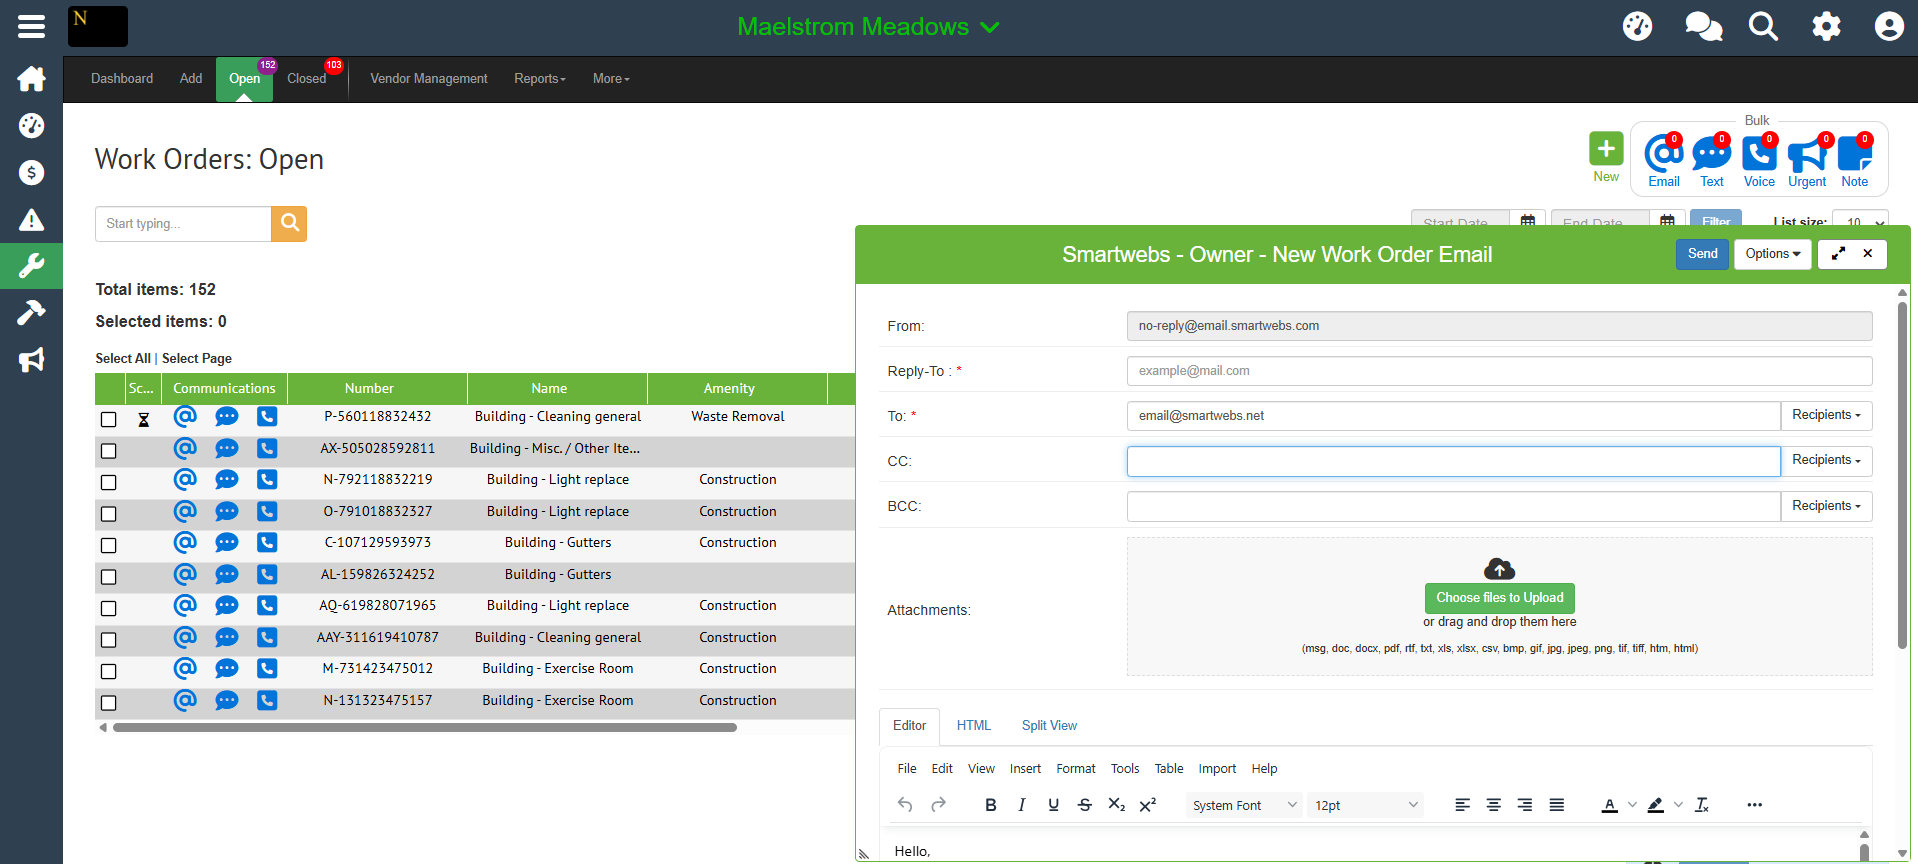
The new work order should now be visible in your Open view.