Smartwebs Bulk Communications
Table of Contents
- Overview
- Resident Setup Requirements
- Creating Communication Templates
- Sending Bulk Emails
- Previewing Communications
- Viewing Sent Correspondence
- Sending Text Messages
- Best Practices & Important Notes
1. Overview
The Bulk Communications feature in Smartwebs allows your association to:
- Send bulk emails and text messages
- Schedule communications
- Save drafts
- Track delivery and read status
- Send to one or multiple associations at once
This guide provides step‑by‑step instructions to ensure successful setup and communication delivery.
2. Resident Setup Requirements
Before sending communications, residents must have:
- Valid contact information
- Communication preferences enabled
2.1 Editing Resident Contact Information
Navigation Path:
Communications > List
Step‑by‑Step:
- Search for the unit.
- Select the unit.
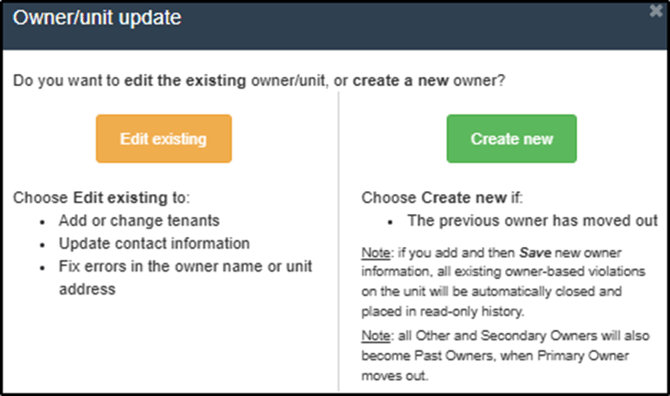
- Click the orange pencil icon.
- Select “Edit Existing.”
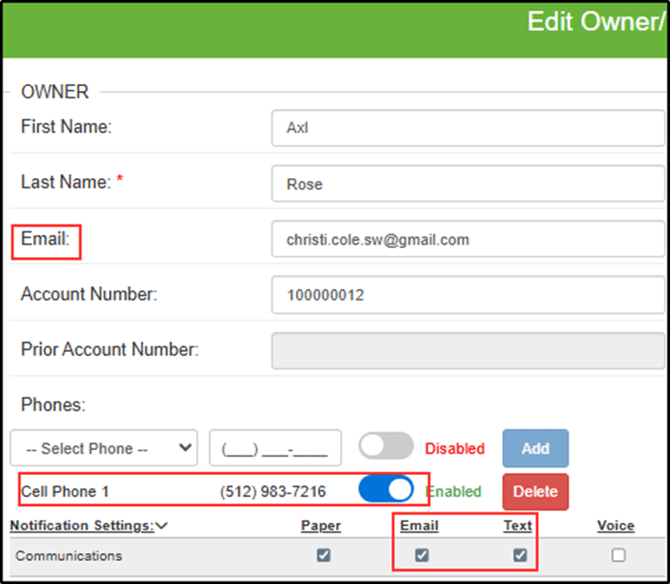
Add or Edit:
- Email address (for emails)
- Cell phone number (for texts)
- Ensure the text toggle is enabled

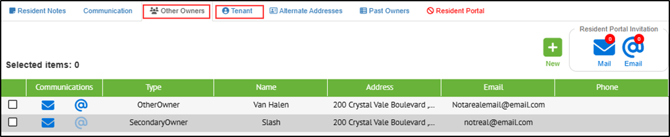
Editing Other Contacts:
- Select the Other Owners tab for secondary owners
- Select the Tenant tab for tenant information
Click Save when finished.
2.2 Editing Notification Preferences
- Navigate to Notification Settings > Communications
- Select appropriate communication checkboxes
- Click Save
2.3 Enabling Preferences in Bulk
Navigation Path:
Communications > List
- Scroll to the bottom of the screen
- Select notification type from dropdown
- Click Save
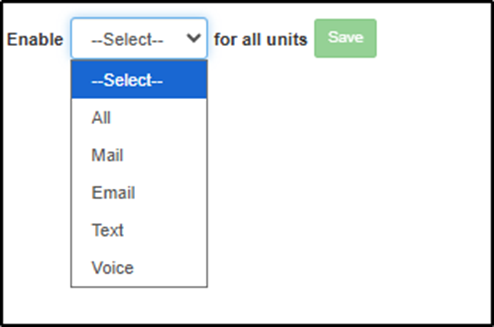
Important: This applies to current owners only. New owners must be enabled manually unless bulk enable is run again.
3. Creating Communication Templates
Templates save time and ensure consistent messaging.
Navigation Path:
Manage > Workflow > Templates
3.1 Creating a New Template
- Select Application Type: Customer Service
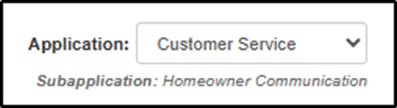
- Choose communication type (Email, Text, Letter)
- Click + New

- Select “Show More”
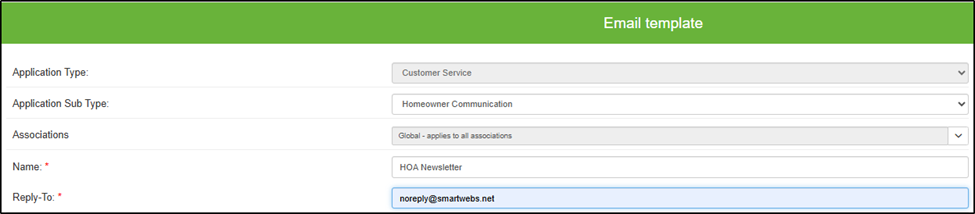
3.2 Required Fields
Name
Internal name (Example: HOA Newsletter)
Reply To
Email that will receive replies
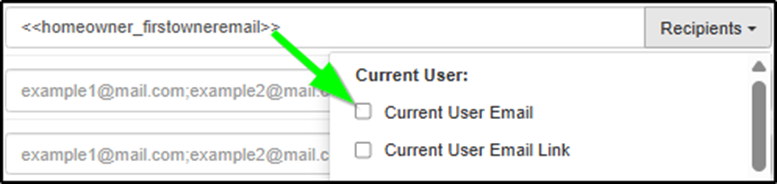
To Field
Use Parameters panel on right: - Filter by typing “email” or “cell” - Use arrow to insert merge fields
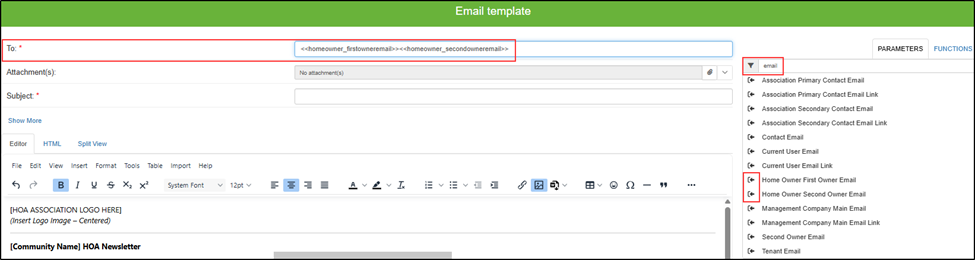
Important: Do NOT manually enter email addresses in To field unless intended. Each recipient would receive copies for every message sent.
Subject
Enter subject line. Parameters may be used (example: Association Name).
3.3 Optional Fields
- Cc / Bcc
- Attachments (paperclip icon)

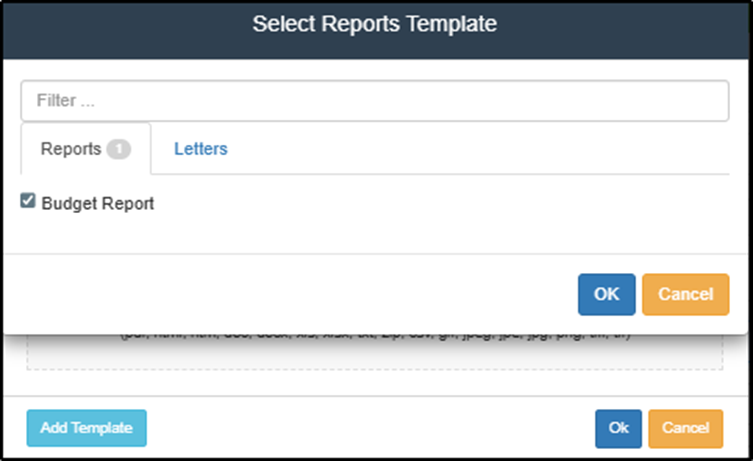
- Add Template (attach report or letter)
- Is Default (sets auto-populated template)
- Auto-Send (sends automatically without prompting)

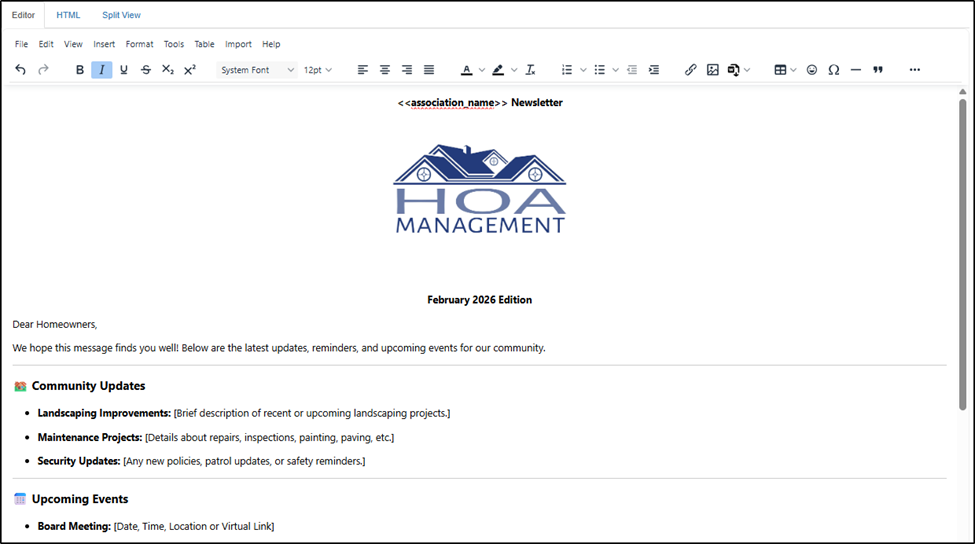
3.4 Editing the Email Body
You may: - Type directly - Insert from Word - Paste HTML
Importing from Word
- Select Word icon
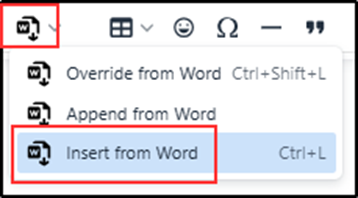
- Click “Insert from Word”
- Upload file
- Edit and insert parameters
- Click Save
3.5 Exporting a Word Doc from Canva
After you have designed your document (not email) in Canva:
Navigate to: File > Download
File Type: DOCX
Page Size: Letter
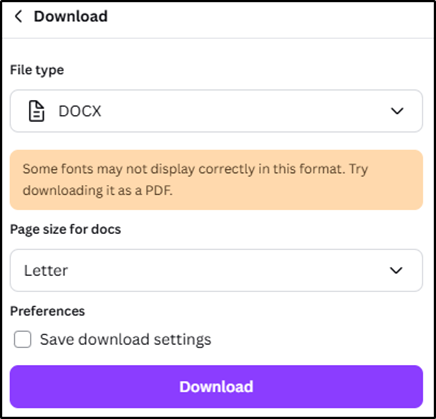
Download
Ensure your saved document is not in compatibility mode or it will not be imported into your template.
Proceed with the steps for importing via a Word file.
4. Sending Bulk Emails
Navigation Path:
Communications > List
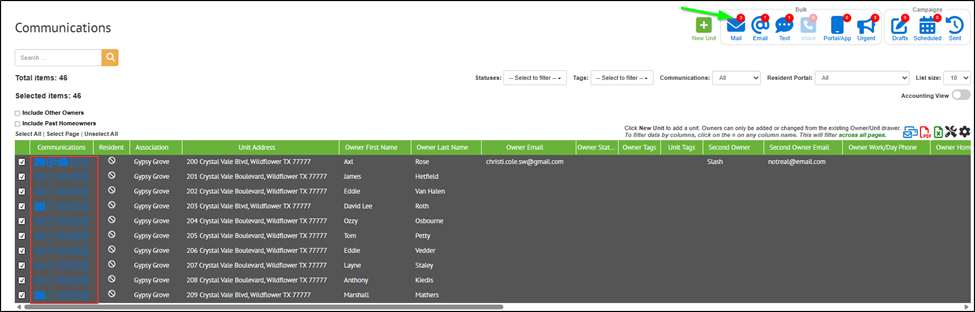
4.1 Filtering Recipients
Use filters at top of homeowner grid: - Legal Status - Tags - Notification Type - Portal Usage
Select: - All - Page - Individual units

Red bubbles indicate number of recipients enabled.
4.2 Sending Bulk Communication
Option 1: 1. Select recipients 2. Choose Email from Bulk section
The number in the red bubble indicates how many of those selected will be sent. If you select 50 units and only 10 have emails on file, only 10 will be sent.
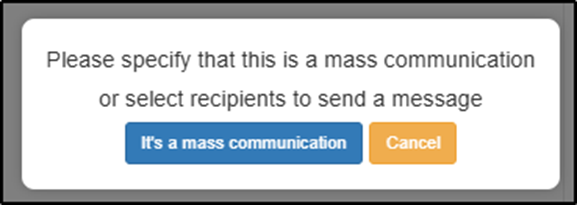
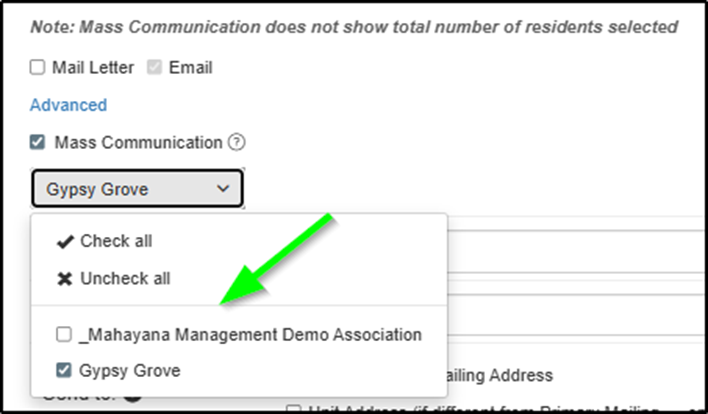
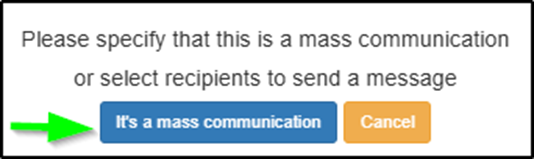
Option 2: 1. Select Email first 2. Click “It’s a Mass Communication” 3. Select association(s)

4.3 Using a Template
- Default template auto-populates
- Or select from Template dropdown
- Or choose “None Selected”
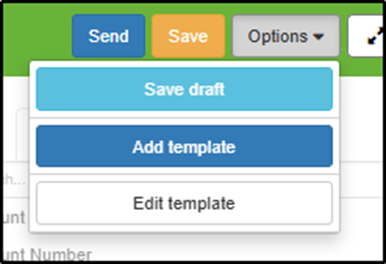
To edit template without leaving drawer: Select “Edit Template” from Options menu.
4.4 Sending Options
Send Yourself a Copy
- Scroll to bottom
- Add your email to the CC or BCC field, or select “Send me a copy”

- Enter email
- Click Send
Delay Send
- Check “Delay Send”
- Choose date & time

- Click Delay Send

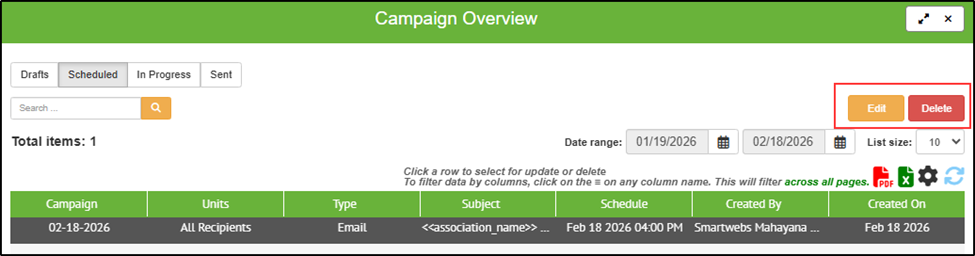
Scheduled messages appear in Scheduled Campaigns.

4.5 Saving as Draft
- Click Save
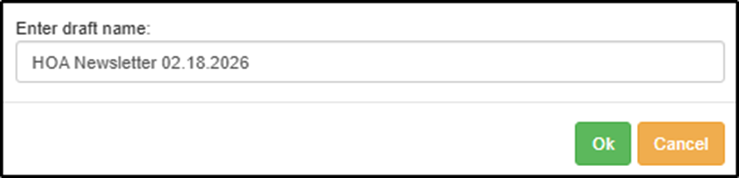
- Name draft
- Click OK
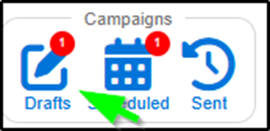
Access drafts via Drafts icon in Campaigns section.
5. Previewing Communications
Before sending, choose one method:
Option 1: Create Test Unit
Create a test unit in your Demo association with your contact information.
Option 2: Replace Merge Fields
Temporarily replace TO field with your email.
Option 3: Send via User Management
Navigation Path: Manage > Workflow > Templates
- Create duplicate template
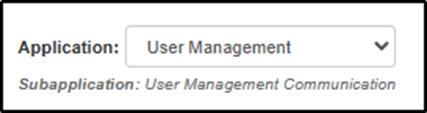
- Set Application Type to User Management
- Use “User Email” parameter
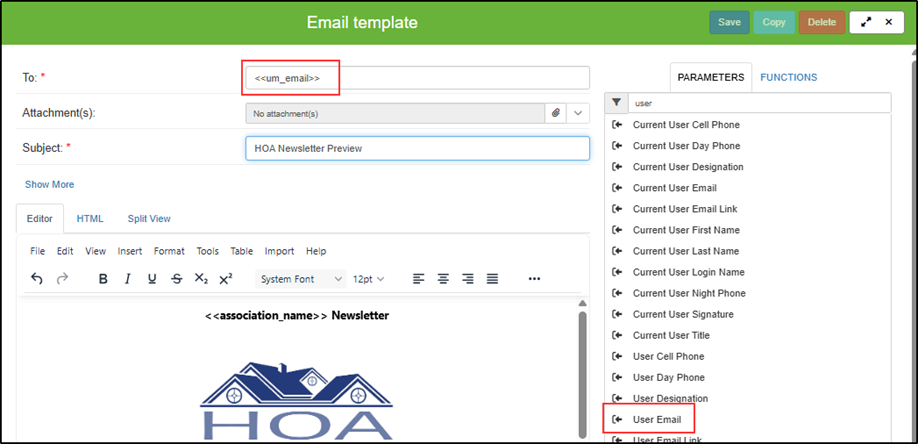
- Click Save
Navigation Path: Manage > Company> User Management
- Select the user(s) you want to receive the message
- Choose the method of communication
- Select the template
- Select ‘Send’
- You can view sent history in the user drawer by selecting the communication icon

- You can view sent history in the user drawer by selecting the communication icon

6. Viewing Sent Correspondence
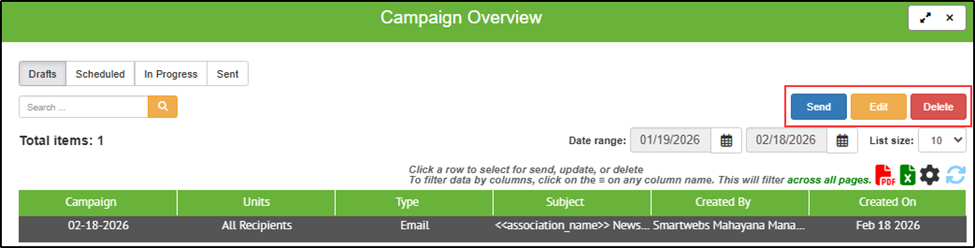
6.1 Bulk Campaign History
- Navigate to Campaigns
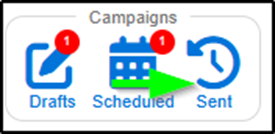
- Select Sent
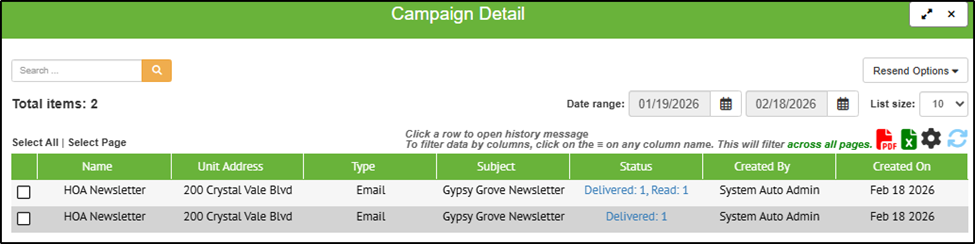
- Open campaign to view recipients
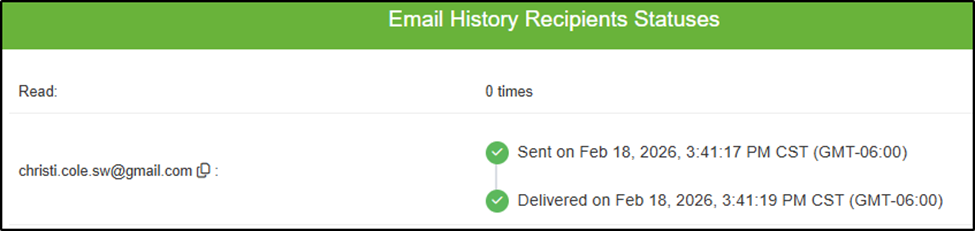
6.2 Individual Unit History
- Open unit
- Select Communication tab

- Open message to view details
Delivery and read status available in Status column.
7. Sending Text Messages
Important: Data fees apply for texts. Emails are free.
Refer to the Resident Settings and Template sections for setup steps.
Navigation Path:
Communications > List

- Select Text icon in Bulk section
- Click “It’s a Mass Communication”
- Choose template or New Text Message
- Confirm phone parameters
Text messages can also: - Be delayed - Be saved as draft - Send copy to yourself
Scheduled texts appear in Campaigns > Scheduled.
8. Best Practices & Important Notes
- Always verify resident contact settings first
- Use templates for consistency
- Preview before sending large campaigns
- Be cautious with To, Cc, and Bcc fields
- Monitor delivery and read status after sending
- Communicate text fee policies internally
For additional support, Contact Us